th6320wf2003 installation manual
Summary
Download the TH6320WF2003 installation manual for easy setup. Get comprehensive guidance and troubleshooting tips here.
Welcome to the Honeywell TH6320WF2003 installation guide‚ designed for the T6 Pro Smart Thermostat․ This manual provides step-by-step instructions for a successful installation process․
Ensure compatibility with your HVAC system and follow safety guidelines for proper setup․ Refer to this manual for detailed wiring diagrams and configuration steps․
1․1 Overview of the Honeywell T6 Pro Smart Thermostat
The Honeywell T6 Pro Smart Thermostat (TH6320WF2003) is a programmable‚ Wi-Fi-enabled device designed for smart home integration․ It offers compatibility with most heating‚ cooling‚ and heat pump systems‚ requiring 24 VAC power․ Features include energy-saving modes‚ scheduling‚ and ventilation control․ The thermostat supports Z-Wave technology for enhanced smart home functionality‚ ensuring efficient and convenient temperature management․
1․2 Importance of Proper Installation
Proper installation of the Honeywell T6 Pro Smart Thermostat is crucial for ensuring safe and efficient operation․ Correct wiring and setup prevent electrical issues‚ while compatibility checks guarantee smooth integration with your HVAC system․ A well-installed thermostat maximizes energy efficiency‚ smart features‚ and overall performance․ Always follow the manual’s guidelines to avoid malfunctions and ensure optimal functionality․
System Compatibility and Requirements
The Honeywell T6 Pro Smart Thermostat is compatible with most heating‚ cooling‚ and heat pump systems‚ requiring 24 VAC for efficient operation and functionality․
2․1 Compatible Heating‚ Cooling‚ and Heat Pump Systems
The Honeywell T6 Pro Smart Thermostat is designed to work seamlessly with various HVAC systems‚ including 2H/2C heat pumps‚ gas furnaces‚ and air conditioning units․ It supports both heating and cooling configurations‚ ensuring compatibility with a wide range of systems․ Proper system matching ensures optimal performance and energy efficiency․ Always verify compatibility before installation․
2․2 Required Electrical Specifications (24 VAC)
The Honeywell T6 Pro Smart Thermostat requires a 24 VAC power supply‚ ensuring compatibility with most HVAC systems․ Always disconnect power before installation to avoid electrical risks․ Verify that your system meets the 24 VAC requirement to guarantee proper functionality and safety․ This specification is crucial for the thermostat to operate efficiently and maintain reliable performance․

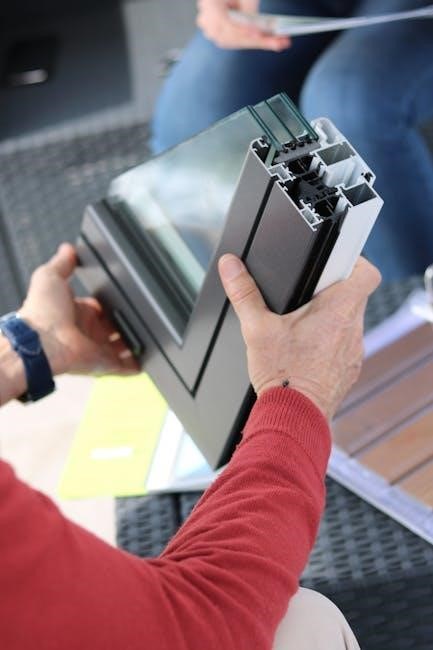
Mounting the Thermostat
Mounting the Honeywell T6 Pro Smart Thermostat involves attaching the Universal Wall Plate (UWP) to the wall‚ ensuring it is level and secure․ Use the provided screws to fasten the UWP‚ then attach the thermostat to the plate․ If needed‚ install the optional cover plate to conceal any gaps or uneven surfaces․ Ensure all components are properly aligned for a seamless installation․
3․1 Preparing the Wall for Installation
Begin by locating the wall studs using a stud finder to ensure secure mounting․ Mark the area where the thermostat will be installed‚ ensuring it’s clear of debris․ If replacing an old thermostat‚ remove any residual adhesive․ Check existing wiring and test for functionality․ If necessary‚ plan wiring routes carefully to avoid damaging the wall․ Drill pilot holes for screws‚ using wall anchors if studs aren’t available․ Mount the Universal Wall Plate (UWP)‚ ensuring it’s level with a spirit level․ Address any uneven surfaces with spacers or shims․ Clean the area to ensure a neat installation․ If using an optional cover plate‚ install it after mounting the UWP to cover paint gaps․ Proceed methodically to avoid errors and ensure a proper fit․
3․2 Attaching the Universal Wall Plate (UWP)
Start by unpacking and inspecting the Universal Wall Plate (UWP)․ Locate the mounting plate on the wall‚ ensuring it is level using a spirit level․ Hang the UWP on the top hook of the mounting plate‚ aligning it carefully․ Snap the bottom part into place to secure it firmly․ If necessary‚ use screws to tighten the UWP‚ ensuring stability․ Verify that the UWP is holding securely before proceeding to install the thermostat․ Check for any diagrams in the manual for visual guidance‚ and consider watching a video tutorial if needed․ Proceed methodically to ensure a proper and secure attachment of the UWP․
3․3 Using the Optional Cover Plate
The optional cover plate is designed to cover gaps left by your previous thermostat‚ ensuring a clean appearance․ Attach it after securing the UWP․ Align the cover plate with the UWP‚ gently snap it into place․ This accessory is ideal for concealing paint marks or uneven walls․ Refer to the manual for specific installation steps and diagrams․ Ensure a snug fit for a professional finish․ Proceed with care to avoid damaging the cover plate or surrounding area․ Use the cover plate only if necessary‚ as it enhances the overall installation aesthetics․ Follow all provided instructions for proper placement and alignment․ This step ensures your thermostat looks as good as it functions․ Take your time to achieve a flawless installation․ The cover plate is an optional but useful component for a polished look․ Make sure it is securely attached before moving on to the next steps․
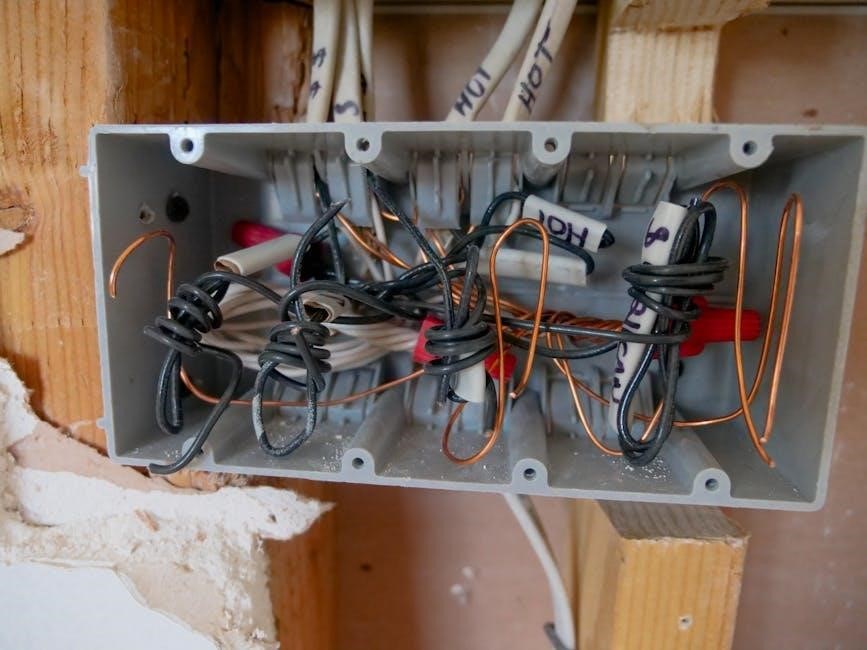
Wiring and Connections
Refer to the wiring diagram for compatible systems‚ ensuring correct connections for heating‚ cooling‚ and heat pump setups․ Verify 24VAC power and proper wire assignments to avoid issues․ Consult the manual for detailed instructions and specific configurations‚ such as AUX heat settings for 2H/2C systems․ Follow safety precautions and manufacturer guidelines․ Ensure all wires are securely connected to match your system type․ Double-check connections before powering on․ This step is critical for proper thermostat functionality and system performance․ Adhere to the wiring guide to prevent malfunctions or damage․ Verify compatibility with your HVAC system’s wiring configuration․ Always turn off power before handling wires․ Use the provided diagrams to identify each terminal’s purpose․ Proper wiring ensures safe and efficient operation․
4․1 Understanding the Wiring Diagram
The wiring diagram provides a visual guide for connecting your HVAC system to the TH6320WF2003 thermostat․ It details terminal assignments‚ such as R‚ W‚ Y‚ G‚ C‚ and AUX‚ ensuring proper configuration․ Use the diagram to identify compatible wire connections for heat pumps‚ 2H/2C systems‚ and other setups․ Refer to pages 1-4 for specific heat/cool system wiring instructions․ Match your system type to the correct diagram to avoid errors․ Verify compatibility with your HVAC system’s wiring configuration․ Always turn off power before handling wires․ Use the provided diagrams to identify each terminal’s purpose․ Proper wiring ensures safe and efficient operation․ Adhere to the wiring guide to prevent malfunctions or damage․ This step is critical for proper thermostat functionality and system performance․ Ensure all wires are securely connected to match your system type․ Double-check connections before powering on․ Follow safety precautions and manufacturer guidelines․ Consult the manual for detailed instructions and specific configurations‚ such as AUX heat settings․ Ensure 24VAC power and proper wire assignments to avoid issues․ Verify compatibility with your HVAC system’s wiring configuration․ Always turn off power before handling wires․ Use the provided diagrams to identify each terminal’s purpose․ Proper wiring ensures safe and efficient operation․ Adhere to the wiring guide to prevent malfunctions or damage․ This step is critical for proper thermostat functionality and system performance․ Ensure all wires are securely connected to match your system type․ Double-check connections before powering on․ Follow safety precautions and manufacturer guidelines․ Consult the manual for detailed instructions and specific configurations‚ such as AUX heat settings․ Ensure 24VAC power and proper wire assignments to avoid issues․
4․2 Connecting Wires for Heat Pumps and HVAC Systems
Connect wires according to your system type (2H/2C heat pump or standard HVAC)․ Match terminals like R‚ W‚ Y‚ G‚ C‚ and AUX to the correct ports on the thermostat․ For heat pumps‚ ensure proper AUX heat configuration․ Refer to the wiring diagram on pages 1-4 for specific guidance․ Secure all connections tightly and double-check for accuracy․ Turn off power before wiring to avoid hazards․ Ensure compatibility with 24VAC systems and verify wire assignments to prevent malfunctions․ Follow the manual’s instructions for precise connections tailored to your HVAC setup․ Proper wiring ensures efficient system operation and safety․ Always refer to the diagram for your specific system configuration․ Double-check connections before restoring power․ Ensure all wires are securely attached to the correct terminals․ This step is crucial for optimal performance and system functionality․ Verify compatibility with your HVAC system’s wiring configuration․ Always turn off power before handling wires․ Use the provided diagrams to identify each terminal’s purpose․ Proper wiring ensures safe and efficient operation․ Adhere to the wiring guide to prevent malfunctions or damage․ This step is critical for proper thermostat functionality and system performance․ Ensure all wires are securely connected to match your system type․ Double-check connections before powering on․ Follow safety precautions and manufacturer guidelines․ Consult the manual for detailed instructions and specific configurations‚ such as AUX heat settings․ Ensure 24VAC power and proper wire assignments to avoid issues․ Verify compatibility with your HVAC system’s wiring configuration․ Always turn off power before handling wires․ Use the provided diagrams to identify each terminal’s purpose․ Proper wiring ensures safe and efficient operation․ Adhere to the wiring guide to prevent malfunctions or damage․ This step is critical for proper thermostat functionality and system performance․ Ensure all wires are securely connected to match your system type․ Double-check connections before powering on․ Follow safety precautions and manufacturer guidelines․ Consult the manual for detailed instructions and specific configurations‚ such as AUX heat settings․ Ensure 24VAC power and proper wire assignments to avoid issues․ Verify compatibility with your HVAC system’s wiring configuration․ Always turn off power before handling wires․ Use the provided diagrams to identify each terminal’s purpose․ Proper wiring ensures safe and efficient operation․ Adhere to the wiring guide to prevent malfunctions or damage․ This step is critical for proper thermostat functionality and system performance․ Ensure all wires are securely connected to match your system type․ Double-check connections before powering on․ Follow safety precautions and manufacturer guidelines․ Consult the manual for detailed instructions and specific configurations‚ such as AUX heat settings․ Ensure 24VAC power and proper wire assignments to avoid issues․ Verify compatibility with your HVAC system’s wiring configuration․ Always turn off power before handling wires․ Use the provided diagrams to identify each terminal’s purpose․ Proper wiring ensures safe and efficient operation․ Adhere to the wiring guide to prevent malfunctions or damage․ This step is critical for proper thermostat functionality and system performance․ Ensure all wires are securely connected to match your system type․ Double-check connections before powering on․ Follow safety precautions and manufacturer guidelines․ Consult the manual for detailed instructions and specific configurations‚ such as AUX heat settings․ Ensure 24VAC power and proper wire assignments to avoid issues․ Verify compatibility with your HVAC system’s wiring configuration․ Always turn off power before handling wires; Use the provided diagrams to identify each terminal’s purpose․ Proper wiring ensures safe and efficient operation․ Adhere to the wiring guide to prevent malfunctions or damage․ This step is critical for proper thermostat functionality and system performance․ Ensure all wires are securely connected to match your system type․ Double-check connections before powering on․ Follow safety precautions and manufacturer guidelines․ Consult the manual for detailed instructions and specific configurations‚ such as AUX heat settings․ Ensure 24VAC power and proper wire assignments to avoid issues․ Verify compatibility with your HVAC system’s wiring configuration․ Always turn off power before handling wires․ Use the provided diagrams to identify each terminal’s purpose․ Proper wiring ensures safe and efficient operation․ Adhere to the wiring guide to prevent malfunctions or damage․ This step is critical for proper thermostat functionality and system performance․ Ensure all wires are securely connected to match your system type․ Double-check connections before powering on․ Follow safety precautions and manufacturer guidelines․ Consult the manual for detailed instructions and specific configurations‚ such as AUX heat settings․ Ensure 24VAC power and proper wire assignments to avoid issues․ Verify compatibility with your HVAC system’s wiring configuration․ Always turn off power before handling wires․ Use the provided diagrams to identify each terminal’s purpose․ Proper wiring ensures safe and efficient operation․ Adhere to the wiring guide to prevent malfunctions or damage․ This step is critical for proper thermostat functionality and system performance․ Ensure all wires are securely connected to match your system type․ Double-check connections before powering on․ Follow safety precautions and manufacturer guidelines․ Consult the manual for detailed instructions and specific configurations‚ such as AUX heat settings․ Ensure 24VAC power and proper wire assignments to avoid issues․ Verify compatibility with your HVAC system’s wiring configuration․ Always turn off power before handling wires․ Use the provided diagrams to identify each terminal’s purpose․ Proper wiring ensures safe and efficient operation; Adhere to the wiring guide to prevent malfunctions or damage․ This step is critical for proper thermostat functionality and system performance․ Ensure all wires are securely connected to match your system type․ Double-check connections before powering on․ Follow safety precautions and manufacturer guidelines․ Consult the manual for detailed instructions and specific configurations‚ such as AUX heat settings․ Ensure 24VAC power and proper wire assignments to avoid issues․ Verify compatibility with your HVAC system’s wiring configuration․ Always turn off power before handling wires․ Use the provided diagrams to identify each terminal’s purpose․ Proper wiring ensures safe and efficient operation․ Adhere to the wiring guide to prevent malfunctions or damage․ This step is critical for proper thermostat functionality and system performance․ Ensure all wires are securely connected to match your system type․ Double-check connections before powering on․ Follow safety precautions and manufacturer guidelines․ Consult the manual for detailed instructions and specific configurations‚ such as AUX heat settings․ Ensure 24VAC power and proper wire assignments to avoid issues․ Verify compatibility with your HVAC system’s wiring configuration; Always turn off power before handling wires․ Use the provided diagrams to identify each terminal’s purpose․ Proper wiring ensures safe and efficient operation․ Adhere to the wiring guide to prevent malfunctions or damage․ This step is critical for proper thermostat functionality and system performance․ Ensure all wires are securely connected to match your system type․ Double-check connections before powering on․ Follow safety precautions and manufacturer guidelines․ Consult the manual for detailed instructions and specific configurations‚ such as AUX heat settings․ Ensure 24VAC power and proper wire assignments to avoid issues․ Verify compatibility with your HVAC system’s wiring configuration․ Always turn off power before handling wires․ Use the provided diagrams to identify each terminal’s purpose․ Proper wiring ensures safe and efficient operation․ Adhere to the wiring guide to prevent malfunctions or damage․ This step is critical for proper thermostat functionality and system performance․ Ensure all wires are securely connected to match your system type․ Double-check connections before powering on․ Follow safety precautions and manufacturer guidelines․ Consult the manual for detailed instructions and specific configurations‚ such as AUX heat settings․ Ensure 24VAC power and proper wire assignments to avoid issues․ Verify compatibility with your HVAC system’s wiring configuration․ Always turn off power before handling wires․ Use the provided diagrams to identify each terminal’s purpose․ Proper wiring ensures safe and efficient operation․ Adhere to the wiring guide to prevent malfunctions or damage․ This step is critical for proper thermostat functionality and system performance․ Ensure all wires are securely connected to match your system type; Double-check connections before powering on․ Follow safety precautions and manufacturer guidelines․ Consult the manual for detailed instructions and specific configurations‚ such as AUX heat settings․ Ensure 24VAC power and proper wire assignments to avoid issues․ Verify compatibility with your HVAC system’s wiring configuration․ Always turn off power before handling wires․ Use the provided diagrams to identify each terminal’s purpose․ Proper wiring ensures safe and efficient operation․ Adhere to the wiring guide to prevent malfunctions or damage․ This step is critical for proper thermostat functionality and system performance․ Ensure all wires are securely connected to match your system type․ Double-check connections before powering on․ Follow safety precautions and manufacturer guidelines․ Consult the manual for detailed instructions and specific configurations‚ such as AUX heat settings․ Ensure 24VAC power and proper wire assignments to avoid issues․ Verify compatibility with your HVAC system’s wiring configuration․ Always turn off power before handling wires․ Use the provided diagrams to identify each terminal’s purpose․ Proper wiring ensures safe and efficient operation․ Adhere to the wiring guide to prevent malfunctions or damage․ This step is critical for proper thermostat functionality and system performance․ Ensure all wires are securely connected to match your system type․ Double-check connections before powering on․ Follow safety precautions and manufacturer guidelines․ Consult the manual for detailed instructions and specific configurations‚ such as AUX heat settings․ Ensure 24VAC
and Additional Resources
Configuring the Thermostat
After installation‚ configure the thermostat by setting the date‚ time‚ and temperature schedule․ Access the menu to program daily temperature settings for optimal comfort and energy savings․ Enable smart features like Wi-Fi connectivity for remote control via the Honeywell Home app․ Explore energy-saving modes to reduce consumption․ Set up vacation mode for temporary schedules and lockout features to prevent unauthorized changes․ Adjust ventilation settings for airflow control․ Refer to the manual for detailed step-by-step guidance on each configuration option to maximize functionality and efficiency․